To mass change the assignment of employees Department, Division, Manager, Location, categories, or any other factor you can use the "Mass Updated" feature within Clarity located under "Utilities"
How to Use the Mass Update
...
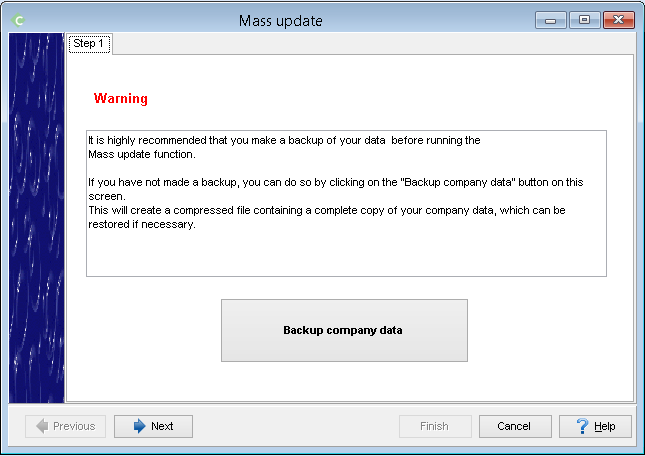
To Use this feature you start by selecting Mass Update menu option located under Utilities. The First step during the mass update is to perform a backup, this is highly recommended since you will making adjustments to your employee data on-mass and there is no un-do buttons.
...
- Create the backup in case you update the wrong fields.
- Select if you want to up date ALL records without restriction or reservation of what the current values are or Group of records if you only want to update select records based on a filter, such as a department or payroll group.
If you choose to update all records proceed to step 4 otherwise continue to Step 3.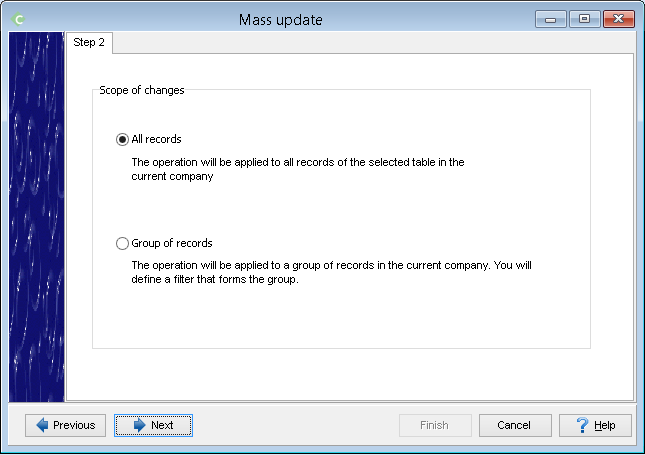
- If you choose to update a group of records you will be taken to a Query designer. As an example you can take the following file and load it which will allow you to filter the employees records based on their currently assigned department.
The table you wish to update must be part of the Query, in the below example we will be updating the "Employee" table, however we also want to filter this based on the employees currently assigned department. Therefore we double click on both respective tables from the far left side which makes them appear in the "Query 1" window on the right.
With the two tables now added we can click and drag the field ID_LEVEL_TWO from the employees table to do the ID field in the Level_two (Departments) table, joining the two together.
At the bottom where we see Criteria we can click on the |...| button to add a criteria and select the NUMBER field from the department table. On the right side we can specify the department that we wish to filter the contents based on. This department number should be encased in single quotes otherwise Clarity may try to convert the value into a number and cause errors.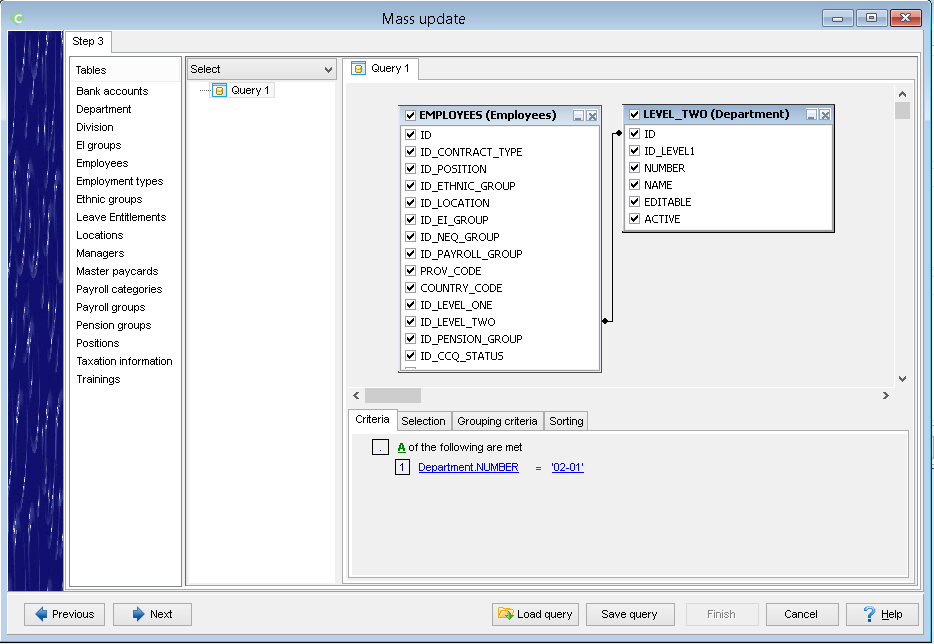
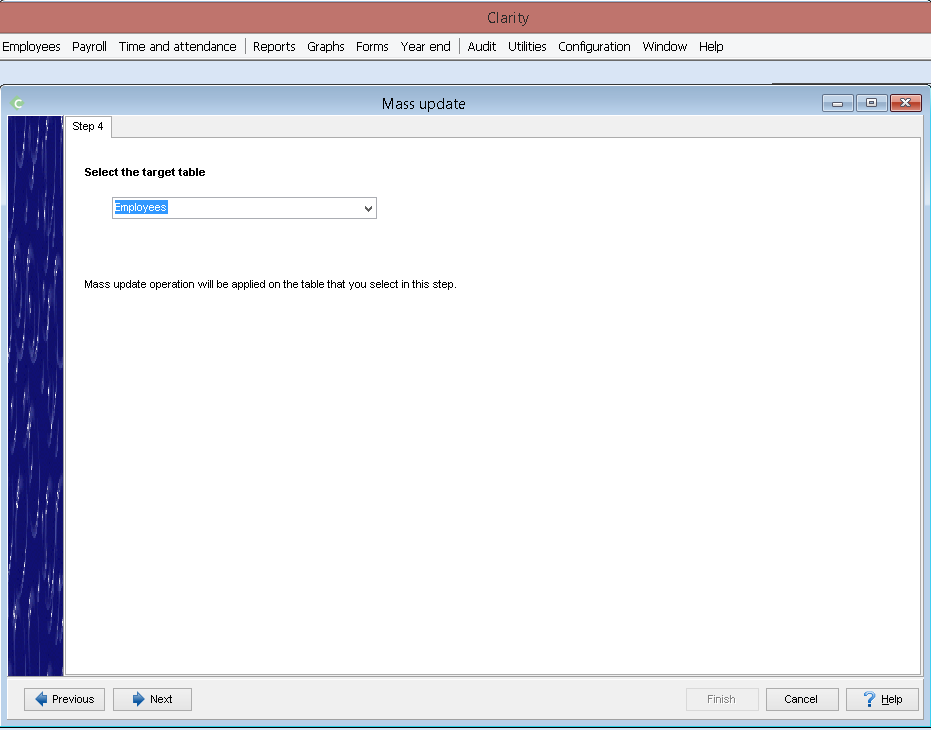
- Now that the criteria is defined we can click Next, On this screen you will choose from the tables that were included in your query which one you wish to update. In most cases you will update the Employees or Employees master paycard tables.
- Once we have selected the table we with to update we can then specify which field we wish to update.
It's important to note that some fields are dependent on each other, such as Division and Department (NB: Via Setup-->Preferences–>Structure you may have changed the names of these fields in your system!) Therefore you should ensure you update the both fields appropriately. As in this example since you are changing the employees currently assigned department based on their current department you should change the employees assigned division first and then the department. This is because the division is NOT being used as the selection criteria for the changes.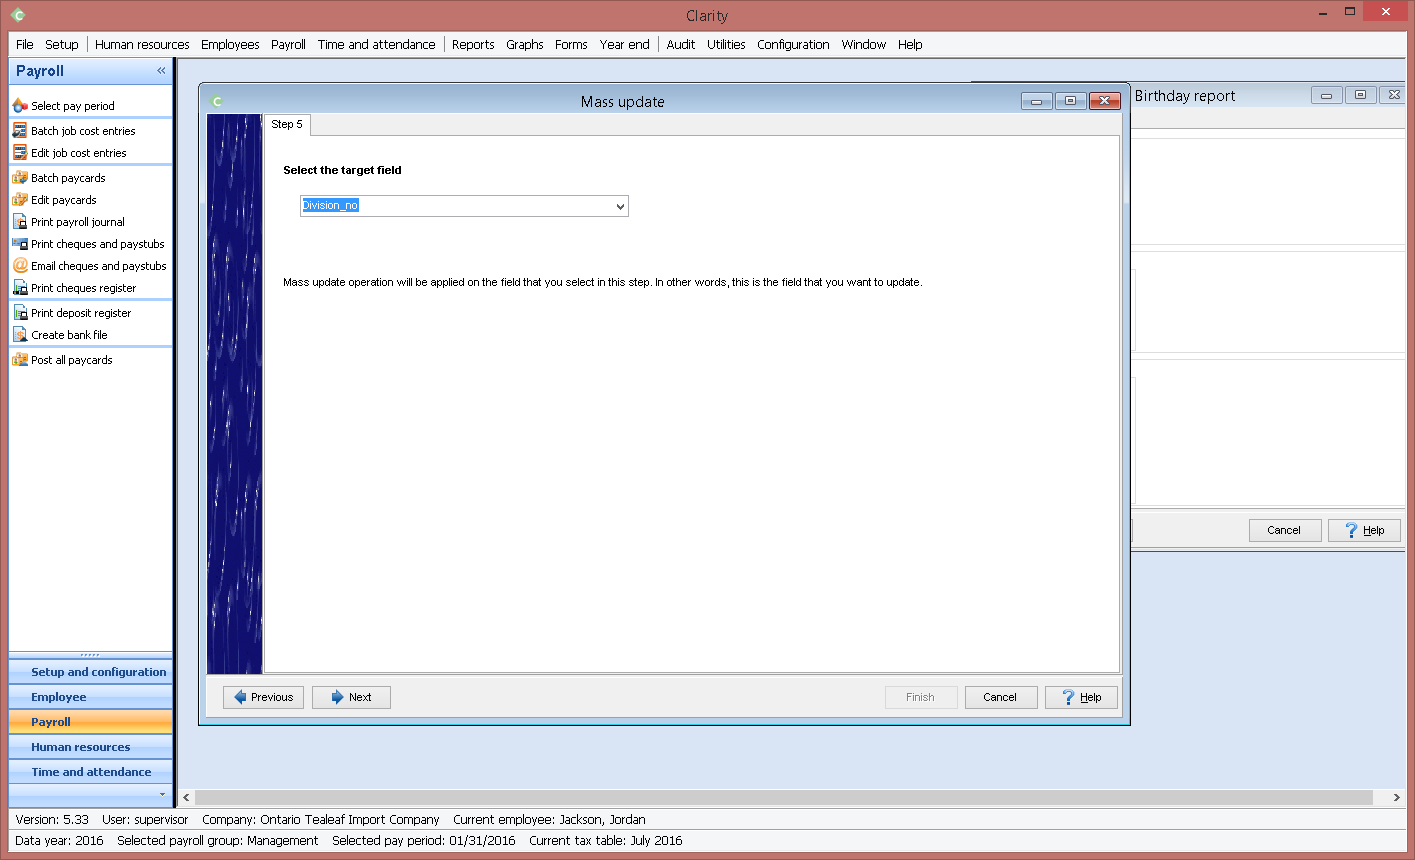
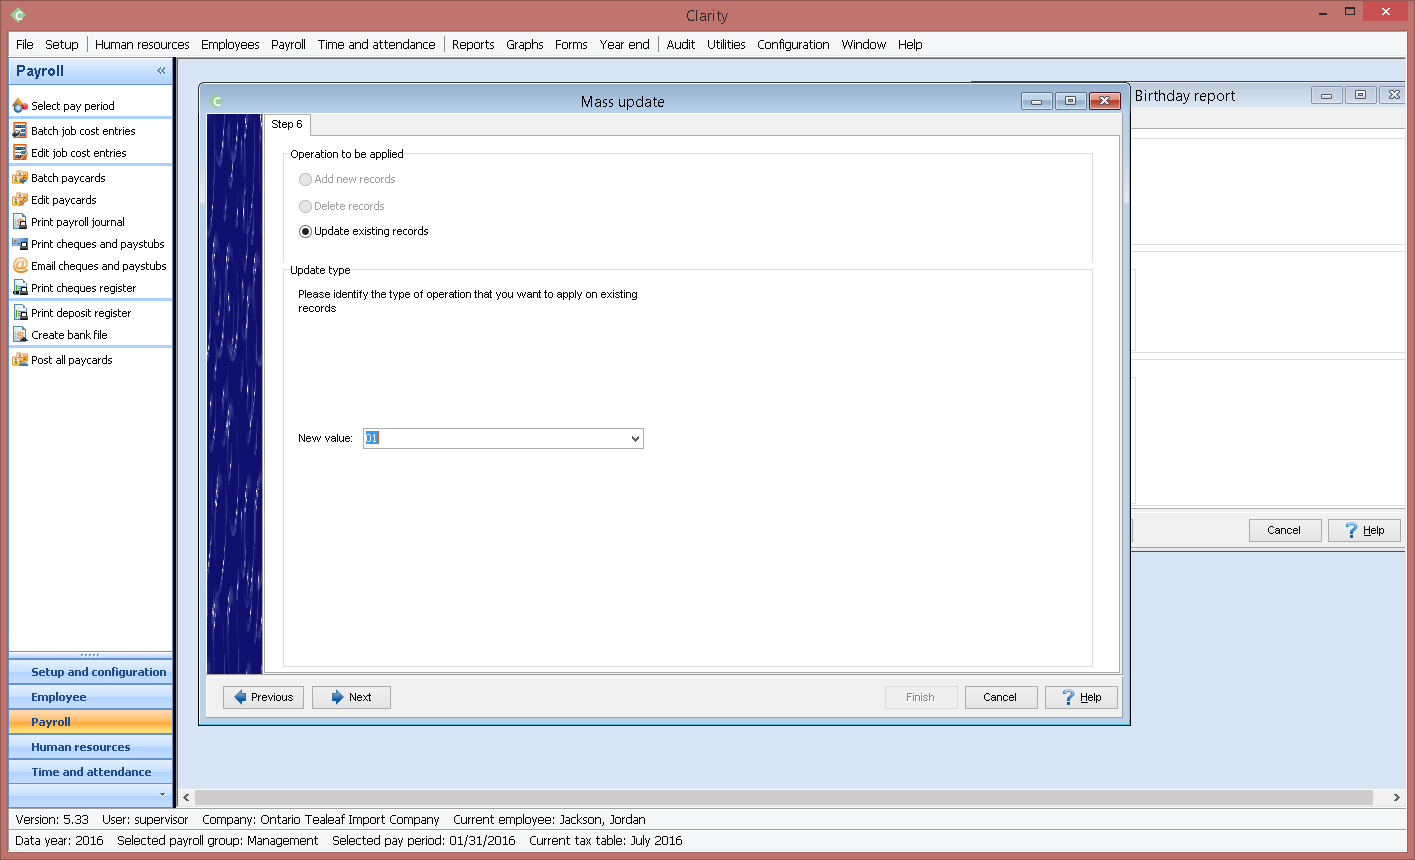
- After you selecting the field you wish to updated you'll be provided the ability to select the new value for the field from the appropriate existing set of records. When updating something like the master paycard you can also specify to modify the current value by setting or removing the value. Additionally you may choose to add too or delete from the current value by a fixed amount or a percentage and define if you want to round the resulting value. This allows you to use the mass update feature to do a on-mass update to employees pay rates increasing everybody by $2.00 or increasing all employees by 5% if you so desire.
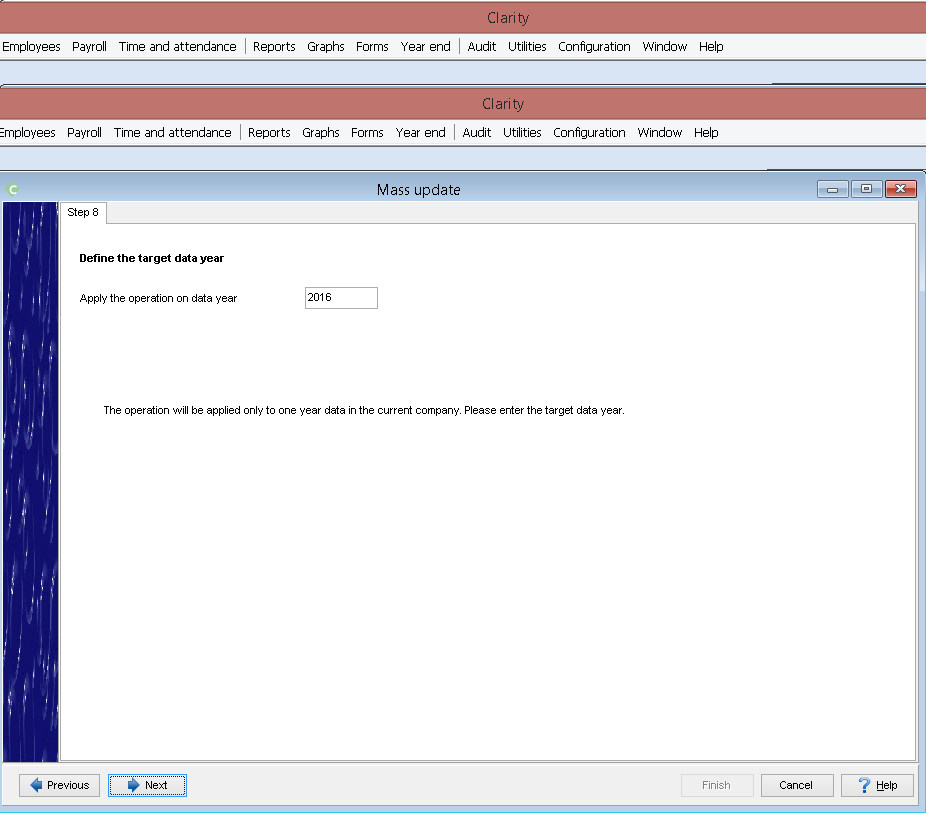
- Now Clarity will ask you for which payroll data-year you desire to make the change too. In Employee General information this does not have any impact, this is only relevant to updates on the employees master paycard.
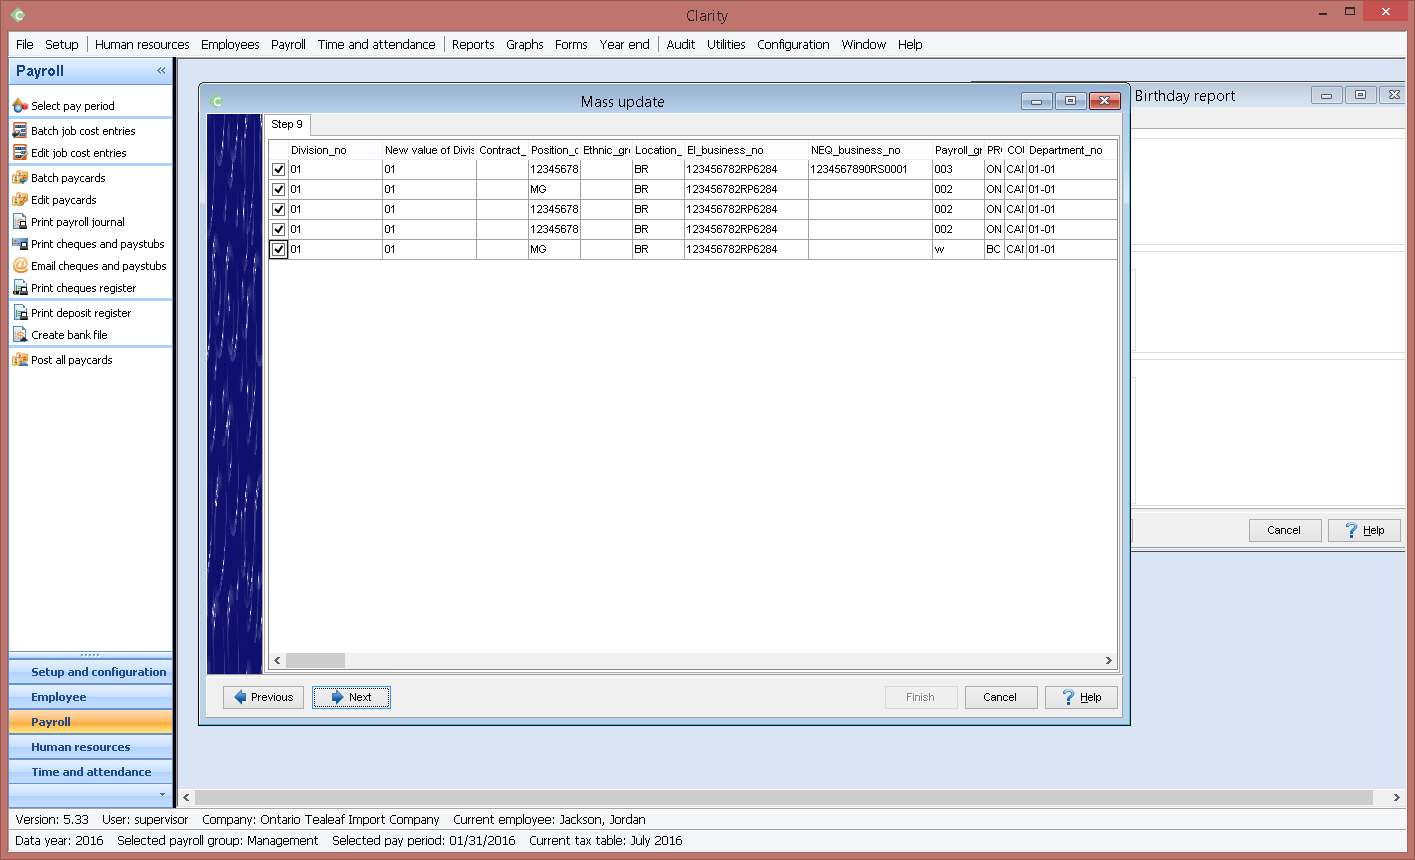
- The next screen will show you a list of the records that are being updated. The first column will show you what the original value (if any) was while the second column will show you what the new value will be. The remainder of the columns will show you the values of table that is being updated and included as part of your query from Step 3. With adjustments to the query you can limit the results and number of columns which may make it easier to identify what records are being updated for pre-update validation. However, this does require some basic understanding of SQL queries and table joins in order to take full advantage of it.
- The final screen prompts you to enter the command MASS UPDATE CONFIRMED this will ensure that you can never "accidentally" perform the mass update in your system and that all updates are intentional.
Once you have completed the mass update if you needed to updated any additional fields (in our case we need to update Division AND department) repeat the steps above and target your secondary fields and tables respectively. Most mass updates are completed in one step with the exception of division/department changes.
...